Launch HiveMQ on Azure with an ARM Quickstart Template
Today we’re taking a closer look at the HiveMQ Azure Resource Manager (ARM) quickstart template that’s included with the HiveMQ Azure Cluster Discovery Extension.
In case you are not yet familiar with the term, Azure Resource Manager is the deployment and management service for Microsoft Azure. A resource-manager template is basically a JSON file that defines the resources that you deploy to an Azure resource group, subscription, management group, or tenant. ARM templates give you an efficient way to roll out Azure infrastructure as code consistently and repeatedly.
The hivemq-vm-cluster ARM quickstart template helps you launch a cluster of HiveMQ virtual machines on Azure with a minimal amount of effort. You select as many HiveMQ instances as you need. Each HiveMQ instance (node) is one virtual machine. The HiveMQ Azure Cluster Discovery Extension that the template installs on each node enables HiveMQ cluster nodes to discover each other dynamically through the regular exchange of information via Azure blobs in an Azure blob-storage container.
 Overview of HiveMQ Cluster ARM Template
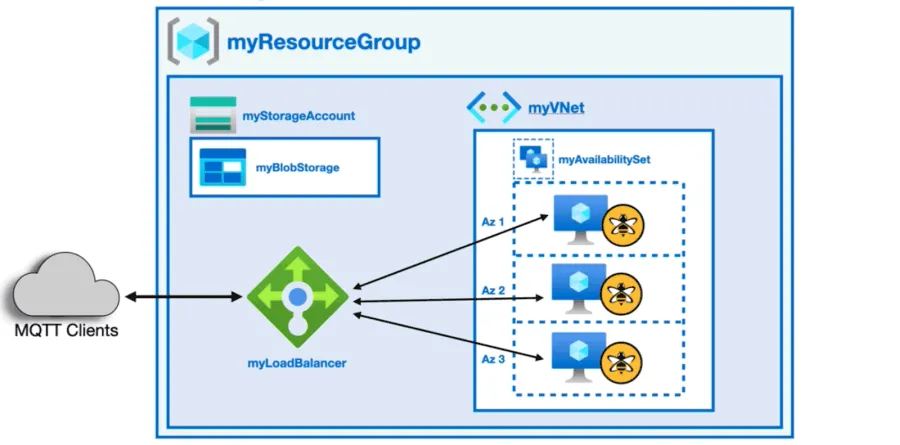
The HiveMQ cluster ARM template automates deployment of the following resources to Azure:
One or more virtual machines preinstalled with HiveMQ and the HiveMQ Azure Cluster Discovery Extension
An Azure Storage Account for the extension to use
An Azure Availability Set in which the virtual machines are located
An Azure load balancer to access the HiveMQ services
A virtual network in which the virtual machines and load balancer are located
Network interfaces with public IP addresses for the virtual machines
A network interface with a public IP-Address for the load balancer
Try Out a Template Today
To see the HiveMQ cluster ARM quickstart template in action, follow these step-by-step instructions:
Requirements
Microsoft Azure account
HiveMQ License (optional)
NOTE: If you don’t have a valid HiveMQ license, the HiveMQ cluster automatically starts up with a HiveMQ trial licence. Trial licenses allow up to 25 concurrent client connections and are for testing and evaluation purposes only. To obtain a HiveMQ licence that is suitable for production use, or to request an evaluation licence that allows more connections, simply contact us.
Get Started with the HiveMQ Cluster ARM Template
TIP: Before you begin, make sure that you have the sign-in information for your Microsoft account on hand.
Go to the HiveMQ Azure Cluster Discovery repository on GitHub and select arm-quickstart-templates/hivemq-vm-cluster.
On the HiveMQ Virtual Machine Cluster page that opens, click Deploy to Azure:

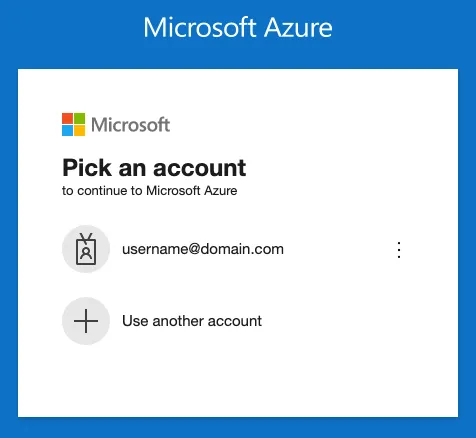
On the Azure sign in window that opens, sign in to your Azure account:
 Configure Your ARM Template
After you sign in to your Microsoft account, a Custom deployment page where you can configure your Azure Resource Manager template to meet the needs of your individual use case opens. Required fields are marked with an asterisk (*):
| Project details | |
|---|---|
| Subscription* | Select the Microsoft Azure subscription in which the resource group is crested. All resources in an Azure subscription are billed together. |
| Resource group* | Select the container Azure uses to hold the resources related to your HiveMQ ARM template. Select Create new to enter a name for your new resource group. |
| Instance details | |
|---|---|
| Region* | Select the Azure region in which the virtual machine is deployed. |
| Admin Username | Define a name for the virtual machine. To successfully complete the deployment, this name must be set. |
| Authentication Type* | Select the type of authentication the deployment requires. The following two options are possible: Password or SSH Public Key. |
| Admin password or SSH Key | Based on the authentication type you select, enter the password or SSH key of the virtual machine. For more information, see Create and use an SSH public-private key pair for Linux VMs in Azure |
| VM Size* | Select the size of virtual machine you want to deploy. The default VM size is Standard_F4s_v2. |
| HiveMQ Version | Enter the version of HiveMQ you want to deploy. The default version is 4.6.0. |
| Number of Instances | Enter the number of virtual machine you want to deploy in the cluster. The default value is 2. |
Review and Create Your Resources on Azure
Once you are satisfied with your configuration, select Review + Create to open an Azure verification window.
After you review the Azure terms of service and verify your choices, select Create to start your deployment.
NOTE: Your Microsoft Azure account bills you for all resources you create. Keep in mind that when you delete a template deployment, the resources you created are not affected. To remove resources, you must delete the resource group. Deletion of a resource group permanently deletes all resources in the resource group and cannot be undone.
When your deployment on Azure is complete, a deployment overview for your template opens.
IMPORTANT: Since version 4.3, HiveMQ only allows MQTT clients to connect if a security extension is present. For testing purposes, HiveMQ includes a hivemq-allow-all-extension that authorizes all MQTT clients to connect to HiveMQ. Before you use HiveMQ in production, you must add an appropriate security extension and remove the hivemq-allow-all-extension. You can download security extensions from the HiveMQ Marketplace or develop your own security extension.
Add Your HiveMQ License Information (optional)
If you have a valid HiveMQ license, install the license information on each HiveMQ node in your cluster. For more information, see Install a HiveMQ License. Skip this step if you are using a HiveMQ trial license.
Access Your HiveMQ Control Center
The HiveMQ Control Center is part of the standard HiveMQ distribution and is a web application that you can access from your browser for quick insights into your HiveMQ cluster.
To verify that your HiveMQ cluster is running, check to see whether your HiveMQ Control Center is accessible:
If you are using a load balancer, make sure that you activate session persistence in your Azure load balancer configuration. Navigate with your browser to the public IP address of the load balancer: http://your-load-balancer-public-IP-address:8080.
If you are not using a load balancer, navigate with your browser to the public IP address of one of the nodes in your HiveMQ cluster: http://your-cluster-node-public-IP-address:8080.
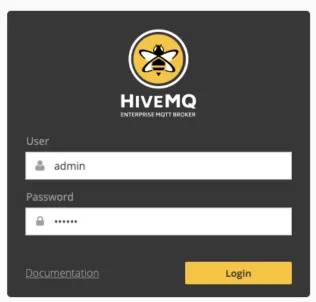
When you see the login dialog for the HiveMQ Control Center, you know that HiveMQ is up and running:
 By default, the HiveMQ broker starts on localhost IP address 127.0.0.1 and listens on port 1883. You do not need to install any additional software on your computer to use the control center.
The default login credentials for the HiveMQ Control Center are: user: admin, password: hivemq.
TIP: When you no longer need your HiveMQ cluster on Azure, be sure to delete the Azure resource group that you created. Deletion of an Azure resource group permanently removes the resource group and all associated resources. This action can not be undone. Deletion of an Azure deployment does not affect the Azure resource group or the associated resources.
Explore More Ways to Run HiveMQ on Azure
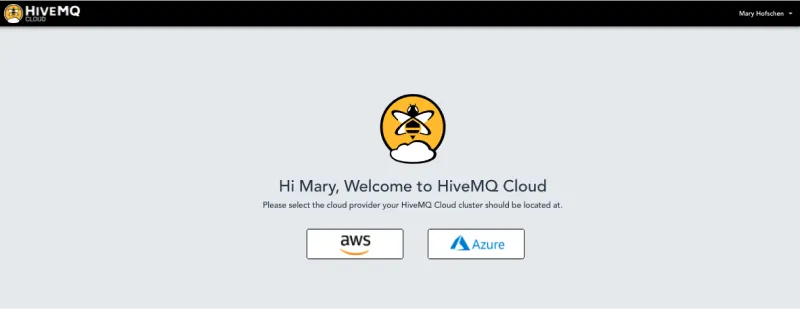
Microsoft Azure is now available with the HiveMQ Cloud Basic package, which gets you started easily with free connectivity for up to 100 devices. Simply sign up and select the cloud provider of your choice to immediately get a fully-managed MQTT broker that is 100% compliant with the MQTT standard specification.
 HiveMQ Cloud Welcome Screen
Need help?
If you need assistance, we are happy to help. Here are some useful resources: HiveMQ Support and HiveMQ Documentation. If you don’t find what you need, feel free to contact us.

